
The correct handling of felting needles is crucial for maintaining high nonwoven product quality and extending the service life of both the needles and the needle board, ultimately helping to reduce overall operating costs.
Installing Needles into the Needle Board
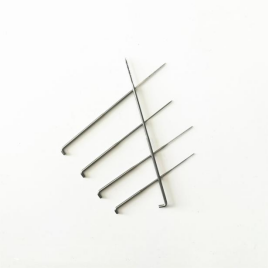
To ensure optimal needle performance, we recommend inserting and aligning needles row by row. After removing needles from their packaging, take care to avoid striking the needle tips against hard surfaces, as damaged points can carry fibers and create imperfections in the final product. For needle boards with flat rear surfaces, align the crank after punching. Needles can be manually inserted to the desired crank position. Using a needle inspection board offers a convenient and effective method to verify proper alignment and to check for broken, damaged, or bent needles.

Removing Needles from the Needle Board
Specialized needle removal tools allow for simple and precise extraction of needles—whether removing individual needles, full segments, or entire boards. These tools are designed to accommodate needles with standard working parts and various geometries, ensuring they can be removed without damage for potential reuse. A range of tool pins is available to cover all gauge specifications.

Needle Rotation System for Consistent Quality
Product quality may vary most significantly when entirely worn needles are replaced with new ones. To maintain consistent high quality, we advise replacing needles in proportional sections. The optimal timing for section replacement can be determined based on machine operating hours, stroke count, or total production output.

Rust Prevention and Cleaning
New needles are coated with a thin layer of anti-rust oil. Note that this coating diminishes after several insertions into the nonwoven material. Accumulated fiber deposits can also negatively impact needling performance and product surface quality. Therefore, it’s essential to clean needles at regular intervals and apply a rust-inhibiting spray.
Storage Recommendations
After removing needles from packaging, be sure to reseal it to protect remaining needles. For extended storage, we recommend the following steps:
- Remove all fiber dust and residue from needles and board
- Clean using compressed air and degrease with acetone if necessary
- Verify needle integrity using an inspection board
- Allow needles to dry completely
- Apply a uniform layer of anti-corrosion oil (e.g., Klübersynth MZ4-17)
For improved corrosion resistance and longer lifespan, consider using durable coated needles. Ideal storage conditions include air humidity below 40% and temperatures between 15–25°C (59–77°F).


